Introduction
A solar inverter is the "brain" of your solar panel system—it converts sunlight-generated DC power into usable AC power for your home. Proper solar inverter installation directly impacts efficiency, safety, and long-term performance. Whether you’re planning a DIY project or working with professionals, this guide breaks down everything you need to know, from choosing the right inverter to avoiding common pitfalls.
Choose the Right Solar Inverter for Your System
The first rule of successful solar inverter installation is picking a unit that matches your system’s needs. Here are the main types and their uses:
-
String Inverters: Ideal for residential/small commercial and industrial setups. Connects 10–30 solar panels in a "string" to one central unit. Cost-effective and easy to maintain.
-
Microinverters: Installed behind each panel. Converts DC to AC at the source, so panels work independently.
-
Central Inverters: Designed for large-scale solar systems, such as commercial and industrial buildings. Connects multiple solar panel strings to a single, high-capacity unit. Efficient for handling high power loads and simplifies system monitoring for large setups.
Step-by-Step Solar Inverter Installation Process
Follow these 7 steps for a smooth, code-compliant install:
Step 1: Install Solar Panel Mounts
-
Choose mounts (roof: column/flat-top; ground: concrete-based) with a 18–36° tilt to maximize sun exposure.
-
For ground mounts: Excavate, pour concrete, and let it cure fully (use temporary supports to keep piers straight).
-
Ensure mounts are level—uneven bases reduce stability and efficiency.
Step 2: Mount the Solar Panels
-
Place panels on the mounts and tighten bolts to secure them.
-
Orientation Rules: Northern Hemisphere → face south; Southern Hemisphere → face north; Equator → horizontal.
-
Use adjustable mounts to tweak tilt seasonally for more sunlight.
Step 3: Connect Electrical Wires
Step 4: Connect Panels to the Inverter
-
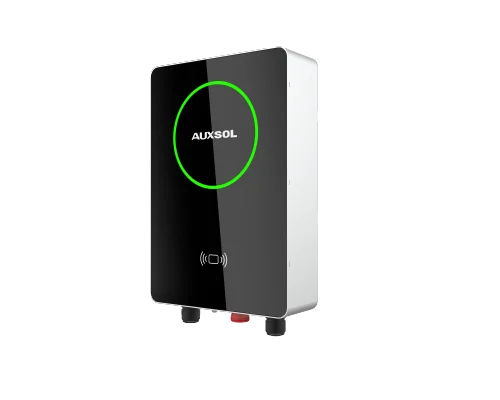
Install the inverter first: Mount it indoors (ventilated space) or outdoors (IP65 weatherproof housing).
-
Match polarities: Connect the panel string’s negative terminal to the inverter’s negative input, and positive to positive.
-
Avoid direct sunlight—overheating shortens the inverter’s life and causes shutdowns.
Step 5: Connect Inverter to Battery (If Using Storage)
-
Batteries aren’t mandatory but add backup power. Connect battery negative to inverter negative, positive to positive.
-
Never connect batteries directly to panels— the inverter stabilizes voltage and converts DC to AC for safe storage.
Step 6: Connect to the Grid
Step 7: Test & Start the System
-
Turn on the inverter and check its digital display—confirm it’s converting DC to AC.
-
Verify all connections with a voltage tester. If using monitoring apps, sync the inverter to track performance.
Avoid Common Solar Inverter Installation Mistakes
Even small errors can ruin your system. Steer clear of these pitfalls:
-
Wrong Inverter Size: An undersized inverter wastes excess power; an oversized one runs inefficiently. Aim for a DC-to-AC ratio of 1.1–1.3 (e.g., 5kW inverter for 5.5–6.5kW panels).
-
Bad Placement: Don’t install in direct sunlight, unventilated spaces, or near moisture/dust. Poor airflow causes overheating.
-
Skipping Professional Help: If you lack electrical experience, hire a NABCEP-certified electrician for wiring/grid connections. DIY electrical work risks shocks or fire.
-
Ignoring Maintenance: Post-install, clean inverter vents monthly and check for loose wires. Most inverters last 10–15 years—replace if efficiency drops.
Conclusion
Solar inverter installation is manageable with planning—choose the right inverter, follow safety codes, and stick to the step-by-step process. DIY works for simple setups, but always call a pro for electrical work. With proper installation, your inverter will keep your system running efficiently for years, cutting utility costs and reducing your carbon footprint.


 Essential cookies


SL正视图.png!thumb500)

TL-正视图.png!thumb500)
TL-正视图.png!thumb500)